Skyrockit Style the Application
Learning objective: By the end of this lesson, students will learn to apply CSS styling to their Skyrockit application. They will set up middleware for static files, create and link CSS stylesheets, and style key components like the homepage, forms, and navigation bar.
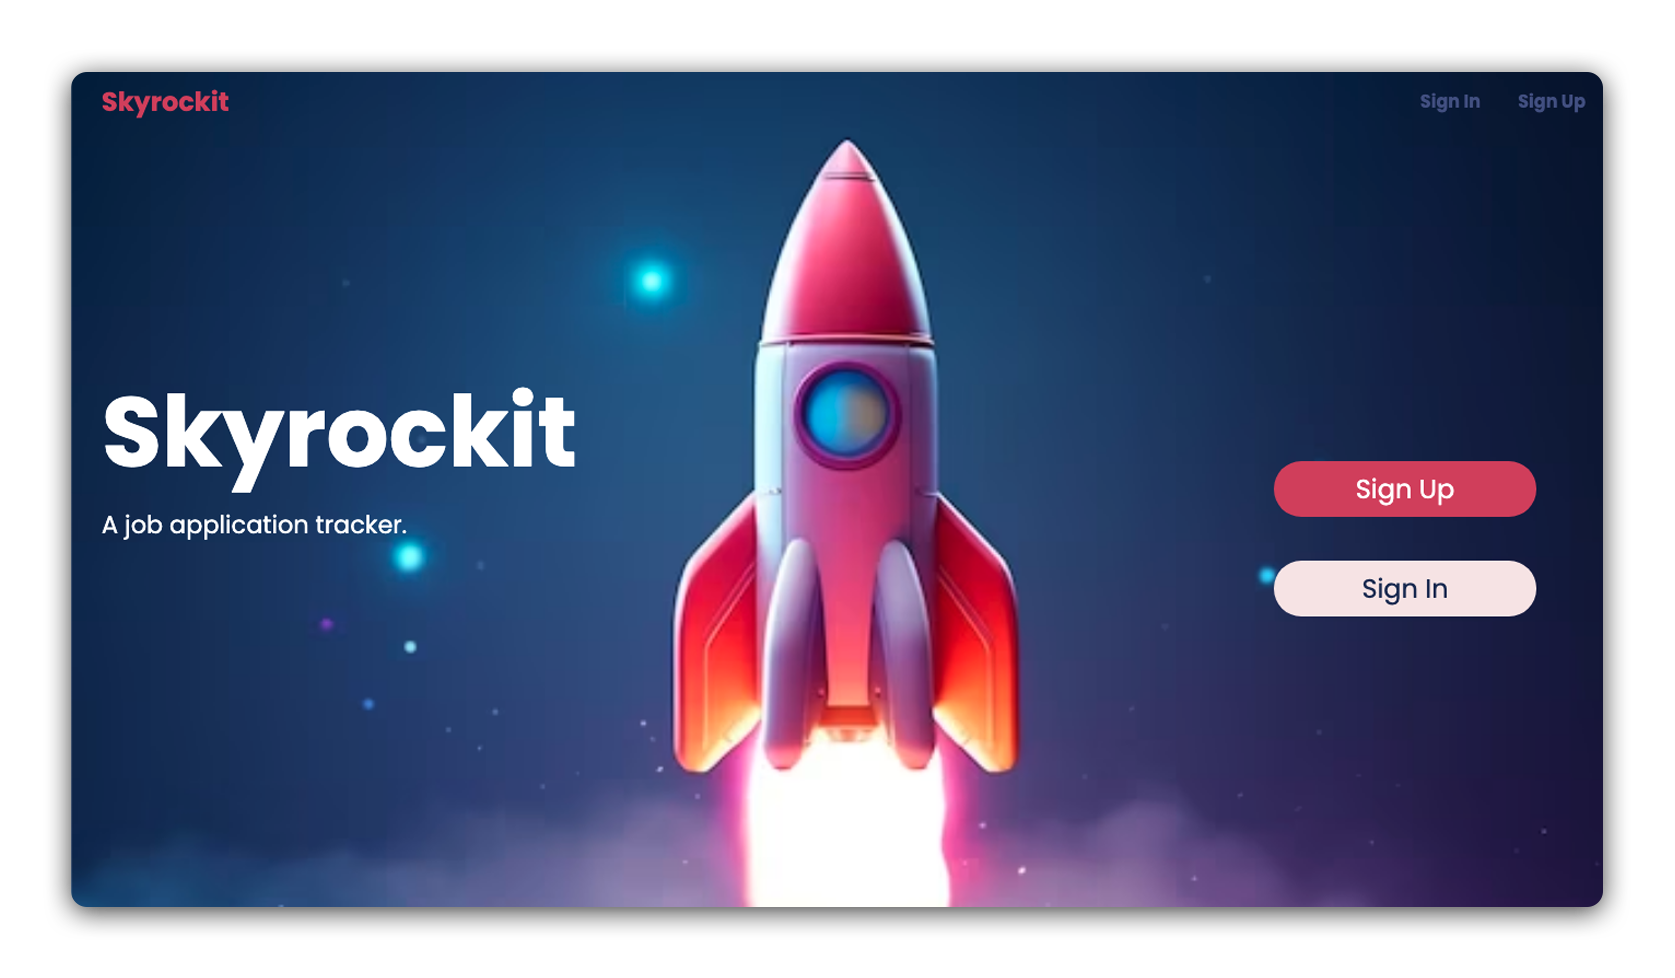
Now that you’ve built a MEN-stack app with embedding, it’s time to add some style. If you follow all of the steps of this level up you’ll have an app that looks like this:

Setting up the middleware and static files
-
First we need to add our middleware so that our app can read and apply our css rules. Add the following code to
server.js:// server.js app.use(express.urlencoded({ extended: false })); app.use(methodOverride('_method')); // app.use(morgan('dev')); // new code below this line --- app.use(express.static(path.join(__dirname, 'public'))); // new code above this line --- app.use( session({ secret: process.env.SESSION_SECRET, resave: false, saveUninitialized: true, }) );The
express.staticmiddleware is designed to serve static files like CSS stylesheets. -
Now we need to add require
path, which we use in theexpress.staticmiddleware. Add this toserver.js:// server.js const port = process.env.PORT ? process.env.PORT : '3000'; // new code below this line --- const path = require('path'); -
Next, we need to create a
publicdirectory. This is crucial because in the code above we designated thepublicdirectory as the one that will hold all of our static files for this app. Create the directory with this command:mkdir public -
Let’s create a
stylesheetsdirectory inside the newpublicdirectory:mkdir public/stylesheets -
Now we need to create a stylesheet called
style.css, and link it at the top of all of most of ourviews. Create the stylesheet using this command:touch public/stylesheets/style.cssand link it to the top of all of our
ejsfiles except for_navbar.ejs:<meta name="viewport" content="width=device-width, initial-scale=1.0" /> <!-- Add this: --> <link rel="stylesheet" href="/stylesheets/style.css" />
Applying general rules
We’re going to set some basic rules for our whole app to achieve consistency.
-
Import our Google Font at the top of
style.css:/* public/stylesheets/style.css */ @import url('https://fonts.googleapis.com/css2?family=Poppins:wght@400;600;700&display=swap');This font is a great choice for our theme and branding because it’s clean, simple, and modern looking.
💡 Feel free to use whatever font you want here! If you want to deviate from the style we’re working towards that’s perfectly fine!
-
Add this rule to
style.css:/* public/stylesheets/style.css */ body { font-family: 'Poppins', sans-serif; display: flex; flex-direction: column; height: 100vh; width: 100vw; background-color: #9ac2ef; }Here, we’re assigning the font that we imported, setting a common background color, and declaring the
<body>element to be aflexboxwith an orientation offlex-direction: column.
Styling the homepage
If you’re logged into the app, you’ll need to log out to see what we’re changing in the next few sections.
Most of the CSS we write is going to be recycled and used throughout the app, but a lot of what we’re doing on the homepage will only be used once. To achieve this, we’re going to add some <divs> and classes to our elements to make styling easier.
-
First, in
index.ejswe’re going to add a class of.index-bodyto the<body>tag, as well as add four<divs>. Replace the code below the closing</head>tag with this:<!-- views/index.ejs --> <body class="index-body"> <%- include('./partials/_navbar.ejs') %> <div class="index-container"> <div class="text-container"> <h1 class="main-header">Skyrockit</h1> <p class="subheader">A job application tracker.</p> </div> <div class="auth-links"> <a class="signup-link" href="/auth/sign-up">Sign Up</a> <a class="signin-link" href="/auth/sign-in">Sign In</a> </div> </div> </body> -
Now we’re going to add our styling for the homepage. The following CSS is doing a few things:
- setting our background image and its size/positioning
- styling our header and subheader
- spacing out our elements with
flex - styling our buttons
Add these rules to
style.css/* public/stylesheets/style.css */ .index-body { background-image: url('https://img.freepik.com/free-photo/rocket-taking-off-boost-symbol-ai-generated-image_268835-6577.jpg'); background-repeat: no-repeat; background-size: cover; min-height: 100vh; width: 100vw; color: white; } .main-header { font-weight: bold; color: white; font-size: 5.6em; margin: -160px 20px 0 20px; } .subheader { margin: 0 20px 0 20px; font-size: 1.4em; } .index-container { display: flex; flex-direction: row; justify-content: space-between; align-items: center; height: 100%; } .auth-links { display: flex; flex-direction: column; justify-content: center; align-items: center; margin: 0 80px 0 0; height: 100%; } .signup-link, .signin-link { text-decoration: none; font-size: 1.5em; padding: 8px 0; border-radius: 25px; width: 10em; text-align: center; } .signup-link { background-color: #ce4866; color: white; margin: 0 0 20px 0; } .signup-link:hover { background-color: #ff5378; } .signin-link { background-color: #f6e7e7; color: #1c2e5b; margin: 20px 0 0 0; } .signin-link:hover { background-color: #ffffff; }
Styling our partials
Since we’re using partials (_navbar.ejs), we’re going to give it its own stylesheet so we can keep those rules separate. It’s important to note that we need to be very explicit with the rules we use for our partials, because they will also respond to the style.css stylesheet.
-
Create a stylesheet called
public/stylesheets/partials.cssand link to it in_navbar.ejs:<!-- views/partials/_navbar.ejs --> <link rel="stylesheet" href="/stylesheets/partials.css" /> -
We want to make some small adjustments to our
_navbar.ejspartial. Here are the changes we’re making:- add a
<div>around each section of ourif... elseblock - add an
idto our<h1> - add
classesto all other elements
<!-- views/partials/_navbar.ejs --> <nav> <% if(user) { %> <div class="navbar"> <h1 id="nav-header">Skyrockit</h1> <div class="nav-links"> <a class="authlink" href="/users/<%=user._id%>/applications" >Your Apps</a > <a class="authlink" href="/auth/sign-out">Sign Out</a> </div> </div> <% } else { %> <div class="navbar"> <h1 id="nav-header">Skyrockit</h1> <div class="nav-links"> <a class="authlink" href="/auth/sign-in">Sign In</a> <a class="authlink" href="/auth/sign-up">Sign Up</a> </div> </div> <% } %> </nav> - add a
-
Now we’ll add the style to
partials.css:/* public/stylesheets/partials.css */ .navbar { display: flex; flex-direction: row; max-width: 100vw; padding: 5px 20px; justify-content: space-between; align-items: center; } #nav-header { color: #ce4866; size: 1em !important; margin: 0; } .authlink { text-decoration: none; margin: 0 15px; color: #4b598e; font-weight: bold; } .authlink:hover { color: white; }
Styling our forms
-
We only need to do one thing on
sign-in.ejsbefore styling: add a<div>:<!-- views/auth/sign-in.ejs --> <body> <%- include('../partials/_navbar.ejs') %> <div class="signin-container"> <h1>Sign in</h1> <form action="/auth/sign-in" method="POST"> <label for="username">Username:</label> <input type="text" name="username" id="username" /> <label for="password">Password:</label> <input type="password" name="password" id="password" /> <button type="submit">Sign in</button> </form> </div> </body> -
We’ll do the same thing for
sign-up.ejsbefore adding styles:<!-- views/auth/sign-up.ejs --> <body> <%- include('../partials/_navbar.ejs') %> <div class="signup-container"> <h1>Create a new account!</h1> <form action="/auth/sign-up" method="POST"> <label for="username">Username:</label> <input type="text" name="username" id="username" /> <label for="password">Password:</label> <input type="password" name="password" id="password" /> <label for="confirmPassword">Confirm Password:</label> <input type="password" name="confirmPassword" id="confirmPassword" /> <button type="submit">Sign up</button> </form> </div> </body> -
Now, we’ll add style rules for the form containers, and add styling for small things like form input bars, the submit button, and so on. You’ll see that we’re defining colors here, but again feel free to make it your own and change things up!
Add the following to
style.css:/* public/stylesheets/style.css */ .signin-container, .signup-container { display: flex; flex-direction: column; justify-content: center; align-items: center; width: 100%; height: 100%; } h1 { color: #1c2e5b; } form { display: flex; flex-direction: column; justify-content: space-evenly; width: 20em; height: 50%; background-color: #f6e7e7; padding: 30px 40px 20px 40px; border-radius: 20px; color: #4b598e; font-weight: bold; } input { border: 1px solid rgb(182, 182, 182); padding: 8px; border-radius: 10px; } button { padding: 10px; background-color: #ce4866; color: white; border-radius: 30px; border: none; margin: 15px 0; font-size: 1.1em; }
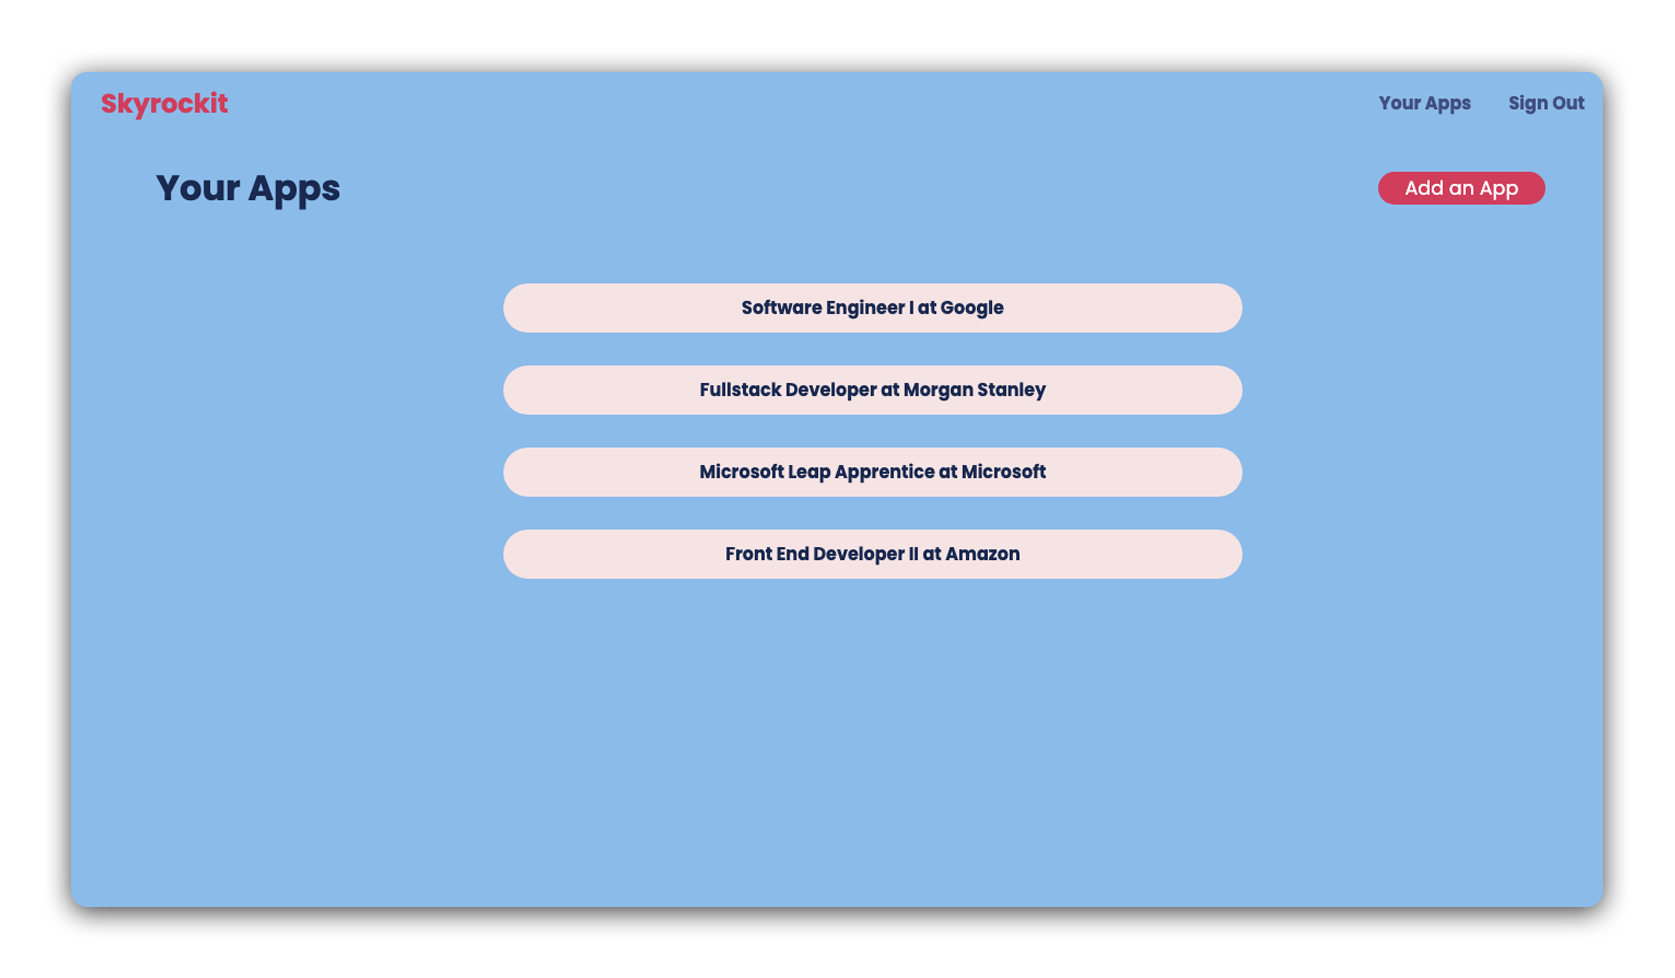
Styling the index page
Now that we’ve added all the styles to the hoomepage, the sign-in form, and the sign-up form, it’s time to log into the app so we can style the rest.
-
We’re going to add some
classesand<divs>to the contents ofapplications/index.ejs:<!-- views/applications/index.ejs --> <div class="all-apps-body"> <div class="all-apps-header"> <h1>Your Apps</h1> <a class="add-app-link" href="/users/<%=user._id%>/applications/new" >Add an App</a > </div> <ul> <% applications.forEach((application)=>{ %> <a href="/users/<%= user._id %>/applications/<%= application._id %>"> <li><%= application.title %> at <%= application.company %></li> </a> <% }) %> </ul> </div> -
Add the style rules to
style.css. These will help adjust the layout of the page and add some style to our “Add an App” link./* public/stylesheets/style.css */ .all-apps-body { display: flex; flex-direction: column; align-items: center; justify-content: center; } .all-apps-header { display: flex; flex-direction: row; justify-content: space-between; align-items: center; padding: 10px 20px; width: 90%; } .add-app-link { padding: 10px; background-color: #ce4866; color: white; border-radius: 30px; border: none; font-size: 1.1em; padding: 2px 25px; text-decoration: none; } .add-app-link:hover { background-color: #e84a6c; } -
Next we’ll add some rules to style the
<li>elements, also known as our application cards. Add the following tostyle.css:/* public/stylesheets/style.css */ ul { list-style: none; width: 90%; display: flex; flex-direction: column; justify-content: center; align-items: center; } ul > a { text-decoration: none; color: #1c2e5b; width: 50%; background-color: #f6e7e7; border-radius: 30px; padding: 10px 20px; margin: 15px 0; font-weight: bold; text-align: center; } ul > a:hover { background-color: #4b598e; color: white; }
Styling the show page
Now onto the show page. The layout we’re working towards for this page is a bit more complicated, so we’re going to create a new stylesheet to use just for this page. That way we don’t have to spend extra time trying to undo some of the rules we’ve already set in style.css that conflict with what we want.
-
Create a new stylesheet called
show.cssin thepublic/stylesheetsdirectory:touch public/stylesheets/show.css -
Replace the link for
style.cssinapplications/show.ejs:<!-- views/applications/show.ejs --> <link rel="stylesheet" href="/stylesheets/show.css" /> -
We also want to make a few adjustments to the structure of our content. We’ll be adding several
<divs>and someclassesas well. Replace the content in the<body>ofshow.ejswith this:<!-- views/applications/show.ejs --> <body> <%- include('../partials/_navbar.ejs') %> <div class="show-body"> <div class="show-header"> <h1><%= application.title %> at <%= application.company %></h1> <div class="show-sidebar"> <div class="show-actions"> <a href="/users/<%= user._id %>/applications/<%= application._id %>/edit" > Edit App </a> <form action="/users/<%= user._id %>/applications/<%= application._id %>?_method=DELETE" method="POST" > <button type="submit">Delete App</button> </form> </div> <p>Current Status: <%= application.status %></p> </div> </div> <div class="show-notes-container"> <% if (application.postingLink) { %> <a href="<%= application.postingLink %>" target="_blank" >View job posting</a > <% } %> <% if (application.notes) { %> <div class="show-notes"> <h2>Notes:</h2> <p><%= application.notes %></p> </div> <% } %> </div> </div> </body> -
Add the following style rules to
show.css. You’ll notice that we need to re-import our font, as well as copy over thebodyrules fromstyle.css:/* public/stylesheets/show.css */ @import url('https://fonts.googleapis.com/css2?family=Poppins:wght@400;600;700&display=swap'); body { display: flex; flex-direction: column; height: 100vh; width: 100vw; background-color: #9ac2ef; } .show-body { display: flex; flex-direction: column; width: 100%; justify-content: center; align-items: center; } .show-header { display: flex; flex-direction: row; justify-content: space-between; align-items: center; width: 90%; } .show-header > h1 { color: #1c2e5b; font-size: 3.4em; margin-left: 10px; } .show-actions { display: flex; flex-direction: row; width: 100%; justify-content: space-between; align-items: center; margin: 20px 0 0 30px; } button { padding: 8px 10px; background-color: #ce4866; color: white; border-radius: 30px; border: none; font-size: 1.1em; width: 10em; margin: 5px; } button:hover { background-color: #e84a6c; } .show-actions > a { background-color: #4b598e; color: white; text-decoration: none; font-size: 1.1em; padding: 8px 10px; border-radius: 30px; width: 10em; text-align: center; margin: 5px; font-family: 'Poppins', sans-serif; } .show-actions > a:hover { background-color: #1c2e5b; } p { color: #ce4866; font-weight: bold; font-size: 1.4em; margin: 10px 30px; text-align: center; } .show-notes-container { width: 90%; margin: 20px 0; } .show-notes-container > a { text-decoration: none; font-weight: bold; color: white; font-size: 1.4em; margin: 20px; } .show-notes-container > a:hover { color: #4b598e; } .show-notes { background-color: #f6e7e7; width: 85%; border-radius: 20px; padding: 40px 40px 20px 40px; margin: 20px 10px; } h2 { margin: 0 10px; color: #1c2e5b; } .show-notes > p { font-weight: normal; color: #1c2e5b; text-align: left; font-size: 1.2em; }
Styling the new and edit forms
We’re in the home stretch! Now we just need to fix some small things on our applications/new.ejs and applications/edit.ejs pages.
-
First, let’s work in
applications/new.ejs. Add a<div>around theformand give it a class of.new-body:<!-- views/applications/new.ejs --> <div class="new-body"> <form action="/users/<%= user._id %>/applications" method="POST"> <!-- --> </form> </div> -
Do the same for
applications/edit.ejs, but with the class name of.edit-body:<!-- views/applications/edit.ejs --> <div class="edit-body"> <h1>Edit <%= application.title %> at <%= application.company %></h1> <form action="/users/<%= user._id %>/applications/<%= application._id %>?_method=PUT" method="POST" > ... </form> </div> -
Add some css for those pages in
style.css(notice we’re back to working instyle.css!):/* public/stylesheets/style.css */ .new-body { display: flex; justify-content: center; align-items: center; height: 100%; } .new-body > form, .edit-body > form { height: 70%; } textarea, select { border: 1px solid rgb(182, 182, 182); border-radius: 10px; padding: 10px; } select { margin-bottom: 10px; } .edit-body { display: flex; flex-direction: column; justify-content: center; align-items: center; height: 100%; }
That’s it! Congrats on fully styling your app!